Installing fence posts correctly ensures that your new fence lasts for years. It may seem daunting for a beginner, but anyone can do it with the right tools and techniques.
In this article, we’ll walk you through every step of the process so you have everything you need to get started. We’ll discuss the five key steps you need to know to start your installation successfully. If you’re looking for a practical example, consider exploring temporary fence rental options in Fort Worth, such as those offered by Viking Rental, to enhance your understanding of the process.
Keep reading our guide on ‘how to install fence posts’; you’ll soon feel confident enough to begin your fencing project yourself.
Let’s get started!
#1 Gather Essential Tools And Materials
Having the right tools and materials is important when installing fence posts. You’ll need the following:
- A post-hole digger
- A tamping bar or tamper
- The fence posts
- Form tubes
- Posts sleeves
- Ready-mix concrete and mixing equipment
Wear protective goggles, gloves and sturdy boots during installation for safety reasons.
Before beginning your project, ensure all components are present so you can finish the job without any delays. Before starting work, check for any pre-existing damage on each fence part.
Properly measure out your space to ensure accuracy with post placement. And remember to leave extra room for gate openings or curved fencing sections.
#2 Site Preparation
Before installing fence posts, the site must be properly prepared. The area should be cleared of debris, such as rocks and vegetation, and levelled off to ensure a stable base for each post. If needed, soil can be added or removed until it is level.
It’s also important to use a spirit level to check that the ground slopes away from the house to prevent water from pooling against it.
Once this has been done, lay out a string line along which you will position your posts. This will help ensure they are evenly spaced throughout the fencing.
#3 Digging Post Holes
After properly preparing the area, it’s time to start digging post holes for your concrete fence posts. You’ll need a post-hole digger or auger with a ground drill bit to do this.
Begin by marking where your posts will go and determine how deep they should be in the ground. Generally speaking, the deeper you bury them, the more stable your fence line will be.
Once you’ve determined the depth and size of each hole, use either a manual or motorised post-hole digger to dig them into the earth. If you’re using an auger bit with a power drill, keep it level as you work around each post location and frequently rotate to ensure even dirt removal.
When finished digging, clear away any loose soil on top of the surface and then check that all of your holes are consistently sized and evenly spaced before inserting posts into place.
#4 Mixing Concrete
Once you have the necessary tools and materials, it’s time to mix up your concrete.
Start by adding about two gallons of water into a bucket for every bag of dry cement mix you plan to use. Once added, mix with a shovel or hoe until all the lumps are gone and everything is blended well together.
If the mixture appears too thick, add more water as needed, but be aware that this will reduce the strength of the final product when dried.
Next, you must use the concrete mix to secure your fence posts. Use a posthole digger or other tool to tamp down the concrete thoroughly before moving on to another section.
Repeat this process until all areas around each fence post have been filled with fresh concrete and firmly tamped down. Allow several days for drying before installing any fencing material over the top of them.
#5 Finishing Touches
Installing concrete fence posts is a relatively simple process that takes patience and the right tools. It’s important to ensure you have all your materials on hand before you begin, and doing so will save time and frustration throughout the installation process.
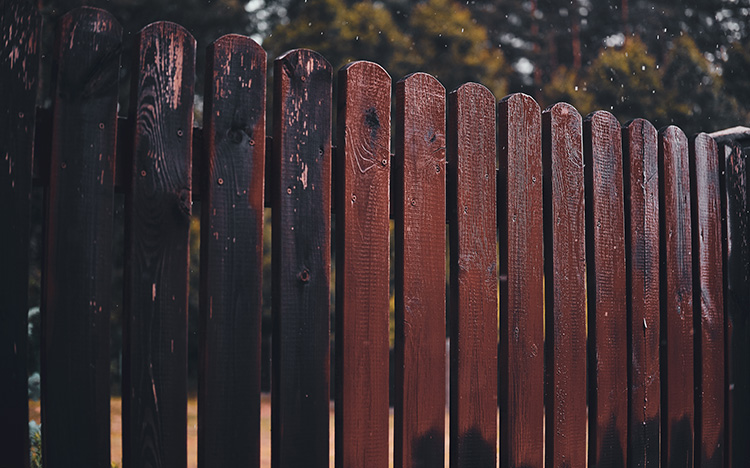
Once your fence is installed, you can continue to add in any finishing touches such as fence panels, tinting or painting the wood. If you are painting your fence post-installation, do so when it is not scheduled to rain for the best chance of a successful job. For long-lasting results and a high-quality finish, it is also important to properly prime the wood before you begin.
Installing a concrete fence may seem difficult, but once you get going, it’s quite straightforward. We hope this guide on installing fence posts has given you the confidence you need to start.
With patience and attention paid at each step, you’ll have an incredibly sturdy structure that will last many years – a perfect addition to any backyard or garden area!
Leave a Reply